Just to clarify, buying a vintage camper was not a mistake on our part. I’m not writing this to tell anyone they shouldn’t seek out a little vintage camper of their own. In fact..
Buy all of the vintage campers! Save them all!
I’m writing this because there were a few things we didn’t think about or know before we made our purchase. Our expectations and reality didn’t line up. If you are seeking your own vintage camper project keep reading! Learn from our mistakes we made when we bought our little trailer.
6 Mistakes We Made When Buying a Vintage Camper:
1. We Didn’t Look For water damage
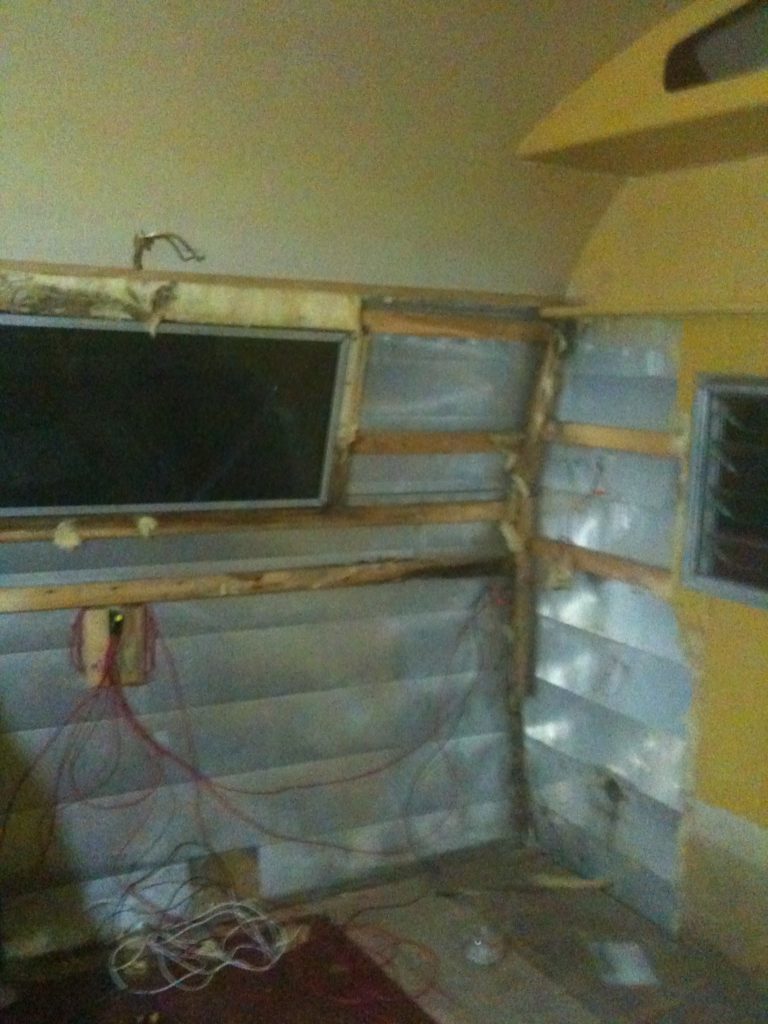
As I mentioned in this post, the previous owner slapped a fresh coat of paint on the interior walls and told us she ‘redid’ the camper. Neither of us had spent any time online researching what to expect or what to look for. When it was all said and done, we had to replace the walls on the back end and the area around the ceiling vent. You can see the details in this post.
It seems like the majority of these campers have water damage. When buying a vintage camper, you should inspect it carefully. Look for ripples and stains on the interior panels. Look around the door, roof vent, and windows. If you see signs of water damage, you may not be able to determine the extent until you start deconstructing the camper.
There is a chance that the entire camper will need to be re-built. Mentally prepare yourself for the worst and be prepared to purchase a Kreg Jig. It will make your trailer restoration a lot easier.
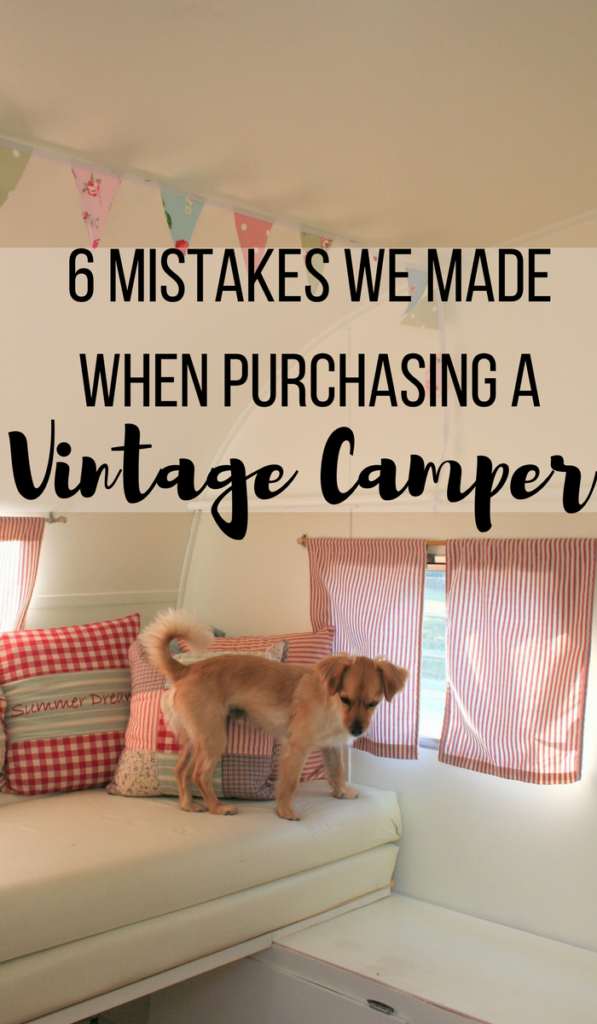
If we had been looking, we would have seen all of these issues with our camper. We were too ‘in love’ with it to see past the paint and realize that we were looking at a project camper. It took a lot of hours to make her look like this.
2. We Didn’t Expect So Many Projects
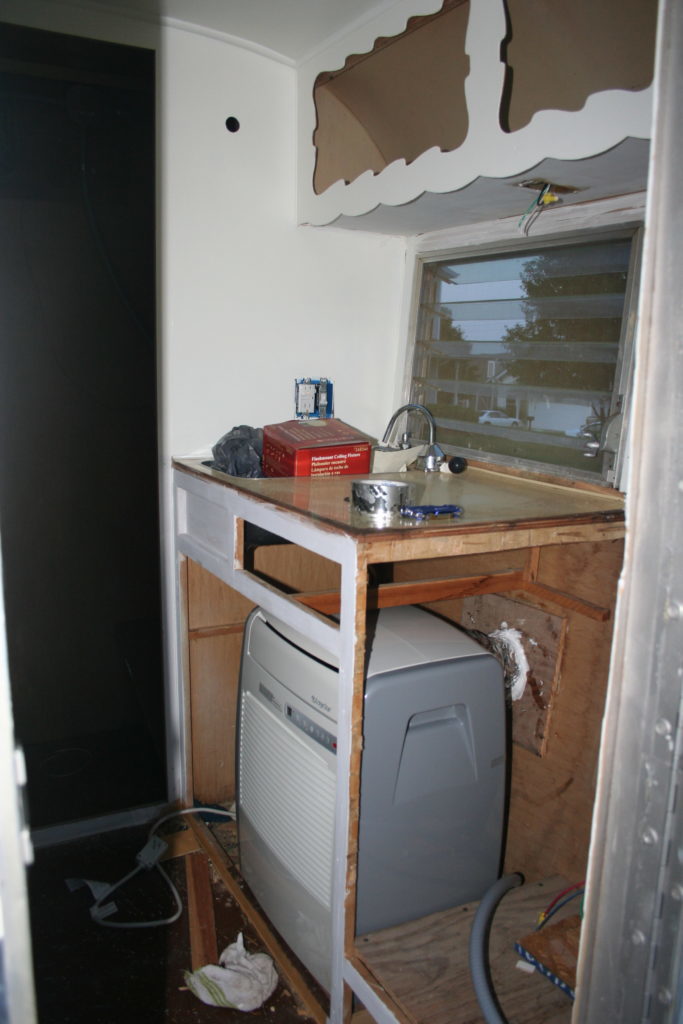
Before we purchased the camper, we knew we would modify the bed, install an air conditioner, and put down new flooring. There were a lot of other projects we didn’t anticipate.
The short list:
- Rewire interior and trailer lights
- Locate new wheels
- Replace wheel bearings
- Replace the tongue jack and safety chains
- Rebuild the door.
- Reseal everything to prevent further water damage.
I didn’t know how much work went into making sure this camper was safe. It is like a lot of new relationships. You are just so enamored with the other person that you can’t see their faults. With time, the faults come shining through. Cecilia was perfect when I found her and the day later I saw she was a hazard to my safety. Thank goodness for web sites like Vintage Trailer Supply, Inc.
The upside is that the trailer was fixable. With enough time and money, we could repair the trailer. I’m happy to report it is now completely safe.
3. We didn’t expect to spend so much money
The cost of repairing vintage trailers varies. We didn’t keep track of everything we spent on the remodel over the last 6 years. In this article, you can see how much Laura spent on her remodel. Red Dirt Shasta did a great job of keeping track of this on his Shasta project. Scroll through his blog and you will see his vintage trailer costs in the column on the right. Every project is different, but having his price as a baseline is more than we started with. We walked into this blindly without considering the cost of replacement skin or birch paneling. Some of these campers sell for a couple hundred dollars. That doesn’t always mean it is going to be cheaper than buying a newer camper that is road ready.
I know we aren’t the first people to make this mistake. When you are shopping for vintage campers online, take note of how many people mention they bought it to fix up, but never got around to it.
4. We Didn’t Realize We Couldn’t Park in Our Driveway
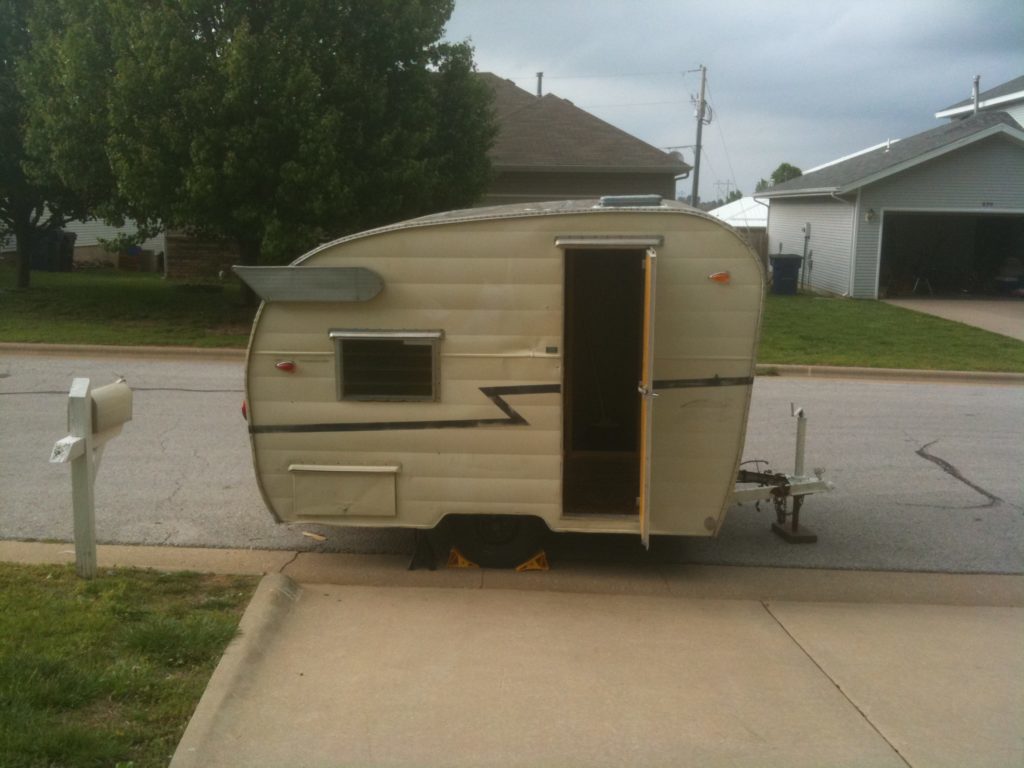 Most of these vintage campers sit low to the ground. Backing the camper into our driveway is impossible because of this because of a slight incline. Since we can’t park it in the driveway, we have to work on it while it sits on the curb in front of our house. Not ideal.
We live in one of those neighborhoods with an HOA. This means rules and regulations. One of those rules is that trailers and vehicles cannot be parked in front of your house unless they are moved every 24 hours. It can be a pain. Since neither of us needed to park on the road before we bout Cecilia, we didn’t know the rules. Make sure your neighborhood doesn’t have rules that will hinder your progress before purchasing a vintage camper.
5. We Didn’t Know How Long It Would Take
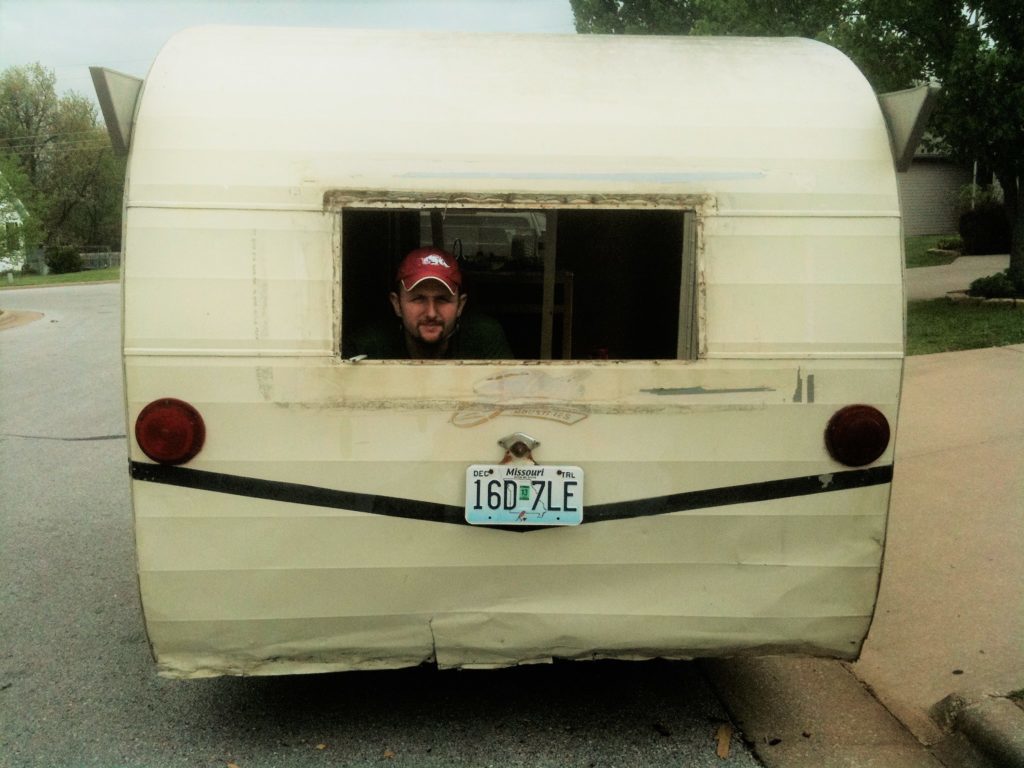 We spent a month of evenings and weekends working on the camper. By that time, camping season had arrived and we were less interested in work and more interested in sitting by the lake. We took a break. Kids came. We took a really long break.
We don’t have access to a garage to do indoor repairs. Some of the repairs meant racing the clock or rain clouds. When you have the back window out, you are well aware of what time the sun sets. If you read my post on 5 Options for Exterior Paint, you already know we had plans to paint. Postponed due to rain. Again. This project was do-able without an indoor garage, but having that space would have sped up the process.
6. We Didn’t Buy Something We Could Grow Into
 5 months after we purchased the camper, we decided to become foster parents. Our boys walked through our door less than a year after we purchased Cecilia. As much as I love my little vintage camper, she is too small for all of us. I use her mostly on solo trips or I will take one of the boys along with me for a weekend. They are getting old enough to sleep in a tent alone now, but that wasn’t always the case.
Despite the fact that we made mistakes…
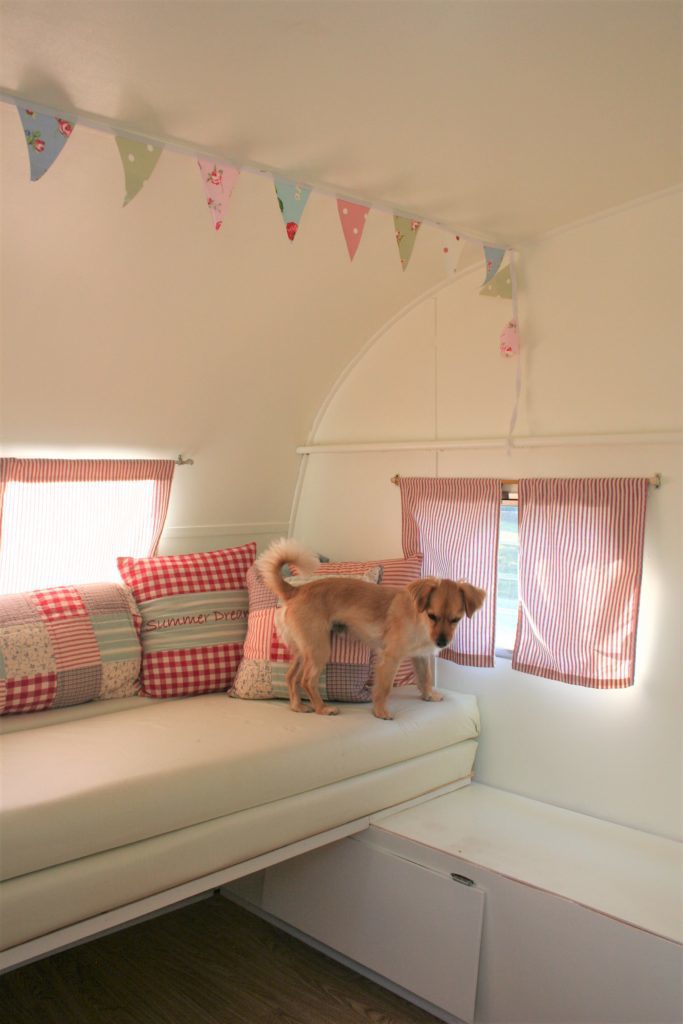
We love our little camper and we love everything we have learned along the way. I love the hours we have spent together working on it and camping in it. I didn’t write this to tell you not to purchase your camper. No, I wrote this so maybe someone reading this won’t be blindsided. Prepare for the worst and expect the best.
If you are searching for a vintage camper, here are 6 tips that will help you find one. You can also find several for sale right here on our site.
If you have already purchased one, leave a comment below and let us know what you would do differently if you were buying another camper.


 (adsbygoogle = window.adsbygoogle || []).push({});
Thank you for this timely post! My wife and I are currently on the hunt for a vintage camper to fix up for family camping trips with our kids. I’ve been doing a lot of reading the past month or two about what to look for and what to be mindful of when buying one.
Oh, and if you come across any for sale within a hundred miles or so of the Philadelphia area, feel free to pass on the info. 🙂
Thank you for reading! I’m glad you are reading before you buy instead of after…like we did. Best of luck on your search. If any of my notifications alert me of something in your area I will shoot you an email.
Cecelia is such a sweet camper! I bought a 1958 Garwood a few weeks ago I am in the process of painting inside. I was wondering what the color name of the white you used ?
I’m sorry, I don’t know the name of the color. We had it color matched to some older paint we had. Good luck with your Garwood remodel! 🙂
Last year I bought a 1968 Sunset and it has been a huge learning experience. Some things I did last year already need redone. But what fun. I had to drive 5 hours each way to get her but I’m so glad I did.
Good for you for learning new things! Most of these campers would become one with the Earth if it weren’t for people who were willing to go on 5 hour adventures and learn how to use new tools. I’m sure your Sunset is adorable!
I love any informative articles regarding vintage campers, all these things mentioned are all true and so helpful. However, I did the same thing, I got my little vintage camper as a fixer upper, its a 1975 cardinal, tiny little 10 ft thing, took 3 years to get it where I like it, and so much to consider when redoing these little campers. I don’t regret any of it, I love it and all the hours it took to restore it. Apparently everywhere I camp, everyone else loves it too, I get so many compliments every time we go! I redid the closet and put a small shower in mine. It can be done with time, money and patience. Vintage campers are my favorite, love to see so many featured on the internet and all the different makes and models. Good advise given here on restoration, thanks for all the great tips. Happy camping everyone.
Thank you! I’m so glad you are happy with your results. They are a lot of fun. I have always loved giving tours of Cecilia at the campground. The tours are pretty quick considering the 10 ft interior. ha ha. I love Cardinals too. Such great little trailers!
well Thanks for this info but everyone need keep in mind” how much you pay is what you receive” in this days vintage campers are very popular, and the prices are more unaffordables every day some of this jewels are hard to find and even with water damage , this campers will running and a few thounsands. and the good ones will running in 10 grants or possible more, so every one need be a realistic if you are thinking in buying a perfect campers for a couple hundreds don’t expected to much. unrestored campers all in some point will need tlc or depends of the owner. like me i just bought it a nice 1965 reddale unrestored. i really love it. first because it is original with her stain and some water damage which that don’t bother me every thing works and i like enjoy it as is. without headche or extra investments.(Time and money) my reddale has original patina and is a true classic the walls speak in the time more of 4 decades still doing her job and still turn heads. i still thinking vintage trailers is for enjoyment no for a contest what incluiding frustration or headche and stress.
Thanks for sharing your experience.
Hey Tina,
Such a shame to hear you got so unluckz with your project. I wonder however, couldn’t you decet any of the moisture damage by scent? Sometimes a wet dog smells alot more than a dry one, eh? Anyway, thanks for the quick read!
That’s a good tip. I will remember it for the future. Our first camper was definitely a learning experience.