
Re-paneling vintage camper walls can be a challenge. Here are the answers to some of the questions we have been asked.
 As I already mentioned in this post, repairing water damage in your vintage trailer is a common problem with a multi-step solution. Re-paneling the vintage camper walls is the final step. Here is what I learned by re-paneling the walls in our 1963 Shasta Camper:
1. what plywood did we use when re-paneling vintage camper walls?
We used 1/8″ birch veneer plywood when repaneling our vintage camper walls. Most vintage campers were originally paneled with birch so this is most commonly used. 1/8″ should be used so you can easily bend the panels to the curves of your camper. Using this material is most important in cases where you are trying to match the original wood in your camper. If you are going to paint over the material, the type of wood is less important that the fact that you purchase 1/8″. For those of you who have done this, I would love to hear what you used. Leave a comment below.
2. Where did we get the birch veneer Plywood?
The only place we were able to find this was at Home Depot. They do not keep it in stock and you can’t order it from their web site. You must go into the store and special order it from a catalog. Each panel comes in 4 x 8 sheets.
UPDATE: We have compiled a list to help you find 1/8″ birch paneling for your vintage camper! It is divided by state. Check it out here.
3. 20% Rule
Measure twice and cut once, right? Plan to mess up, unless you have a lot of experience in working with these tools and materials. We purchased 20% more than we needed to complete the job. All of the leftover plywood has been used to panel cabinets in our camper.
4. tips for cutting 1/8″ Birch Veneer Paneling
I used a DeWALT 6-1/2 in. 90 T Steel Saw Blade for Vinyl/Paneling and a DeWALT 20-Volt Max Lithium-Ion 6-1/2 in. Cordless Circular Saw to cut the panels. For finer cuts that were hard to achieve with the blade, I scored the cut line with a box cutter several times until it cut through. To avoid splintering the wood, tape the front and back of the cut line with painter’s tape.
5. Tips for attaching the panels
I used a brad nailer to attach the wood. Other people have mentioned using brads might present problems later down the road since they do not have a head. Our camper has taken several trips in the last 6 years and the paneling is still firmly in place.
UPDATE
Thanks for leaving your questions. We wanted to add some more information based on what you asked.
I’ve struggled getting the curves measured correctly. I’ve already messed up several panels. How did you go about working with the curves?
The signature curved shape of these vintage trailers makes it a little challenging. We created a pattern using cardboard so we could then trace the curve onto wood. This probably isn’t the most technical way, but we felt confident that we weren’t going to hack up the birch panels. It felt a lot better to destroy cheap or free cardboard until we got it right.
What did we use for trim?
Hello! We used a variety of products for trim. For the spaces between the birch panels on the ceiling we used 1/8″ inch wooden strips purchased at Lowes. For the trim around the bottom where the floor is we used wooden quarter round molding. Search Lowes or Home Depot for Quarter Round and you should see it.
If you have any other question about re-paneling vintage camper walls, please leave a comment on this post! We will try to help if we can.

Thanks for the helpful tips! I’m about to repair some water damage in my 65.
You’re welcome! Best of luck to you on your repairs.
I’ve struggled getting the curves measured correctly. I’ve already messed up several panels. How did you go about working with the curves?
Make a template of corner before you remove it. Each is a bit different but this will help. To keep the panel from splitting really bad after you draw the corner put a few layers of tape on the outer edge then cut.
Don’t expect symmetry, or that every corner and curve is different from the last, meaning, if you have a left and a right curve that appear the same, make two separate templates.
I am as excited as a kid on Christmas Eve to get started on my 1969 Tow-A-Long camper. For 10 yrs I have been looking for a lightweight vintage camper and yesterday I found it. The interior is in need of some work, fairly extensive work from what I can tell. Once I get all the junk and trash out it may look better than my first impression. I want to keep it as close to original as possible, being that I am an antique dealer it will have some vintage pop here and there. I am going to document this foray it should be a hoot. I want to repaint it back to the original colors but that will be the last step. I will be checking in often with questions. Happy camping all.
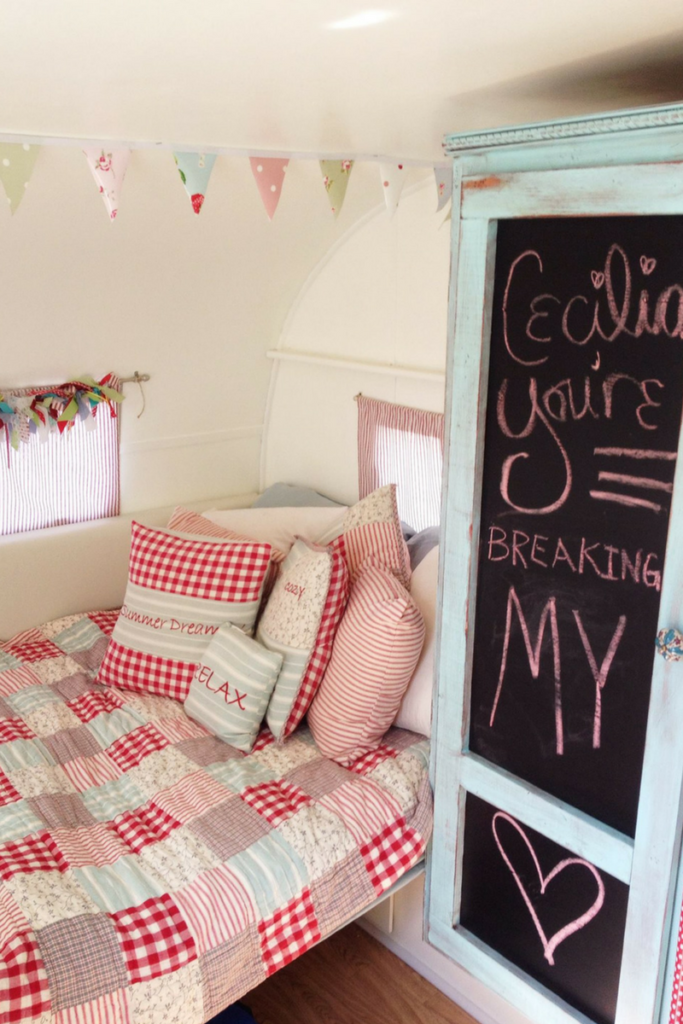
I’m excited for you! It felt like Christmas when we got Cecilia too! If you are going to document on a web site or Instagram, make sure you share the link. I want to watch!
Hi Michelle,
Saw your post this morning in my search for ways to start on the vintage trailer that was given to me by my brother. I am curious if yours is tiny and if it has a rear entry door. I have not been able to find mine on any site. Mine too looks like a total disaster but feel that once I get all the junk out of it I will see more clearly where to start the repairs. Would love to see what you have done to yours.
Why did you use for trim? The person who owned my canned ham before me used cheap trim and screwed through it, cracking it. Just curious if you used wood (and what kind) or Plastic.
Hello! We used a variety of products for trim. For the spaces between the birch panels on the ceiling we used 1/8″ inch wooden strips purchased at Lowes. For the trim around the bottom where the floor is we used wooden quarter round molding. Search Lowes or Home Depot for Quarter Round and you should see it.
Did you use 1/8 birch for ceilings also?
Yes, we did. What kind of trailer are you working on?
We just got our 1961 Shasta. Thanks for the great tips !!
Awesome! Does it need a lot of work? I hope you find something here that helps you on your journey!
Thanks for the tips! I just got a 19 64 Aladdin 🤗 I have been looking for a trailer for years and am finally in the position where I have a place to work on it. I did the spider and grime clean out yesterday and it already looks 1000x better. I have a couple of ceiling pieces that need to be replaced, I’m going to take your advice and start today! Can’t wait!!
Have fun! It is so great to watch these trailers transform.
I SO appreciate you sharing this information – we just bought a 1955 rod and reel that needs A LOT of love and basically needs all the paneling replaced. We are so excited to get started though! Hoping to document the whole thing haha – should be entertaining to say the least.
Did you replace your paneling from the inside of the camper, or did you take the skin off and replace from the outside in?
Thanks!
Good luck with your project! I will have to look up photos of that trailer. I haven’t heard of the Rod and Reel. Will you be documenting on Instagram? We would love to follow you so let us know. Our trailer was in decent shape and we were able to replace the inside without removing the skin. We didn’t have a place to work on it where we could cover it with a tarp or leave it parked long term so that worked out great for us.
what did you use for trim along the curved portion of the trailer?
Instead of solid wood trim, I used the the foam core trim. With the foam core trim I was able to carefully bend it and match curve. I use more nails than usual in the curve to make sure it stayed in position.
I am redoing a 1968 Road Runner that has some water damage …. when i removed the water damaged wall, I noticed that the boards or frame for the wall, was also rotted… the frame was made up of 3/4 by 2 inch pieces of wood, but i am not sure what type of wood to use for the framing… and also what type of insulation would be best as it also needs replacing… Any help would be greatly appreciated as i am doing this all by myself… I am super excited and my husband thinks I am crazy for taking on this project1!
We used pine 1×2’s for framing. They worked great. You should be able to find those at Lowe’s or Home Depot easily. As for insulation, we used rigid foam insulation. Choose one that fits the depth of your walls. You never know what issues what issues you will get into working on vintage campers, but it is a great learning experience. Have fun with your project.
How did you deal with the spaces where the paneling came together?
We used a 1/8″ x 1″ piece of trim to go over were two pieces of trim meet.
Thank you for the info! My husband and I are working on a 1969 Penguin. We have the entire inside torn out and are getting ready for paint on the outside. We want to try to keep everything as close to original as possible (but I think I’ll skip the green sink)!
Keep up the hard work. When you are finished and taking your camper out on trips you can take pride in all of your hard work.
I can’t tell which should go on first – or come off first … interior paneling or ceiling? Thanks,
We started with the ceiling for demo and construction. The roof was one of the most noticeable areas of water damage and started removing the ceiling to see how extensive the damage was.
In 1961 did Shasta use shellac or varnish on the interior paneling? Was it also stained?
Off the top of my head I cannot remember. Ours was painted yellow inside so I could not tell what the original finish was in ours.
Hi! Wanted to know about the paint. Did u paint the birch before putting it up? What type of primer/paint did you uae in the trailer?
We painted everything after we put it up. Unfortunately, I no longer have the interior paint to answer those questions.
my college roommate and i have bought a 67 shasta. her name is pearl. have taken one trip because we couldn’t wait. 😄 with your tip, i’m going to home depot to order
paneling for some repairs. do you have pics posted of your trailer before and after reno?
happy traveling yo us all!!
So happy to hear that took it out on it maiden trip. If you look at the build pictures you will see some pictures of what the inside looked like and some of the newest pictures added should be the finished product. Unfortunately, we did not take a lot of detailed step by step pictures.
Hey. Great advice. Do you put insulation in before the wood or is it not needed? Also, do you know a good place for a door for a 1964 Serro Scotty?
I would put the insulation in before you panel the inside. The insulation really does help. With our AC and insulation it made a world of difference in the hot summer sun.
So thrilled to find this page. I have some water damage on the original paneling of my 1976 thomson clansman and I’m going to go for it and attempt to replace it this spring. Thank you!
You will do a great job. Just take your time and enjoy the process. You will love the end result when it’s completed.
I just purchased a 10’ 1949 Aljoa that I’ll be needing to do this too! Great tips! As far as weight goes, do you think I should be fine on weight during my reno as long as I don’t go overboard? Plan is vinyl flooring, Formica laminate countertop, vinyl backsplash, etc. I’m a total newbie and the overhanging worry of it needing to be hauled by my 2011 Subaru Forester (2400 lbs towing capacity) has me concerned on using too much wood on the interior. Thanks!
Weight is a concern for sure when building. A big key to this is to make sure the weight is distributed evenly when towing. I think you will be fine with your choices. A good rule of thumb is for the tongue weight to be 10% of the total trailer weight.
I have a 1971 Shasta and the back wall has water damage. I’m totally new at this, but I am up to the challenge .
Looking for video tutorials to show me from the beginning.
I ran across this site.
Thank you for sharing.
When converting Cecilia, I read vintage camper rebuild forums for a variety of topics. Water damage is something I think most vintage camper owners have had to deal with. Most of the time when we saw water damage on the inside panelling, it usually looked worse behind it at the actual framing. Windows are notorious for leaking and causing damage. We had to completely re-do the back wall of Cecilia due to a leaking window that rotted most of the framing. We used 1×2 pine boards for framing material and a kreg jig for the pocket screw holes. I think the hardest part sometimes is knowing where to start. Just find a bad section and remove the panelling just to see what is causing the damage. Remove any rotted framing and replacing with new wood. That is the best way I can tell you. Good luck with your restoration.
Quick Tip: Once the inside panel is removed where the damage is at, take a picture of the framing and so you have an idea of how to put it back together.