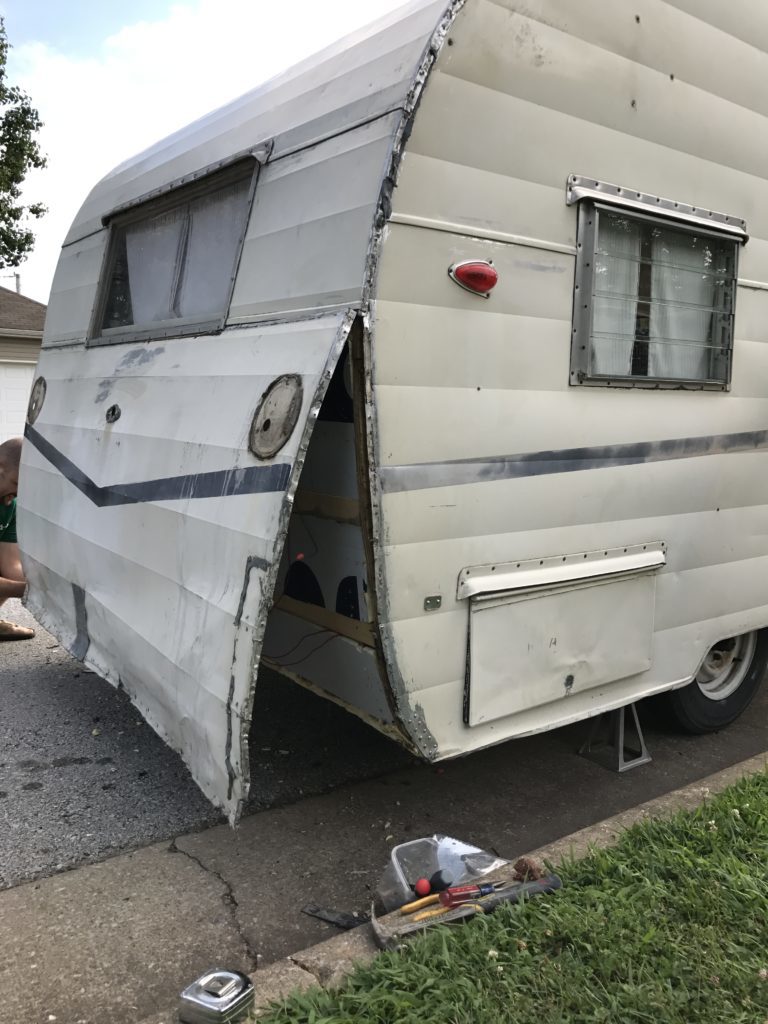
 We had big plans to paint Cecilia a while back. Those plans were pushed into the future due to rain. Looking back at my post 6 Mistakes We Made When Purchasing a Vintage Camper, I realize I should have added a 7th mistake. This project would have went so much faster if we had a place to work indoors. We were often in a race with the weather.
Plans to paint were pushed even further into the future when we decided we wanted to replace the back piece of skin.
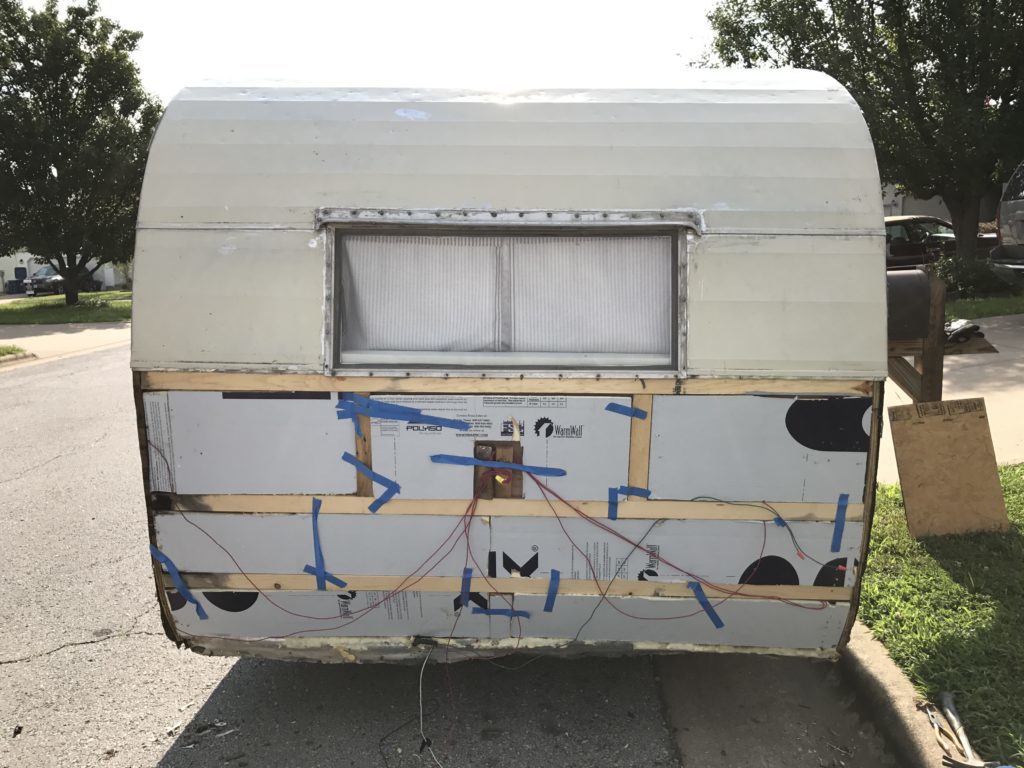
We never intended on replacing any of the skin. It is dinged on the sides and top from hail. Someone jackknifed it a couple of times through the years. Chris has gotten very handy at patching the worst areas. The truth is, we love those dings. We love that there is still a little history left on little Cecilia the Shasta.
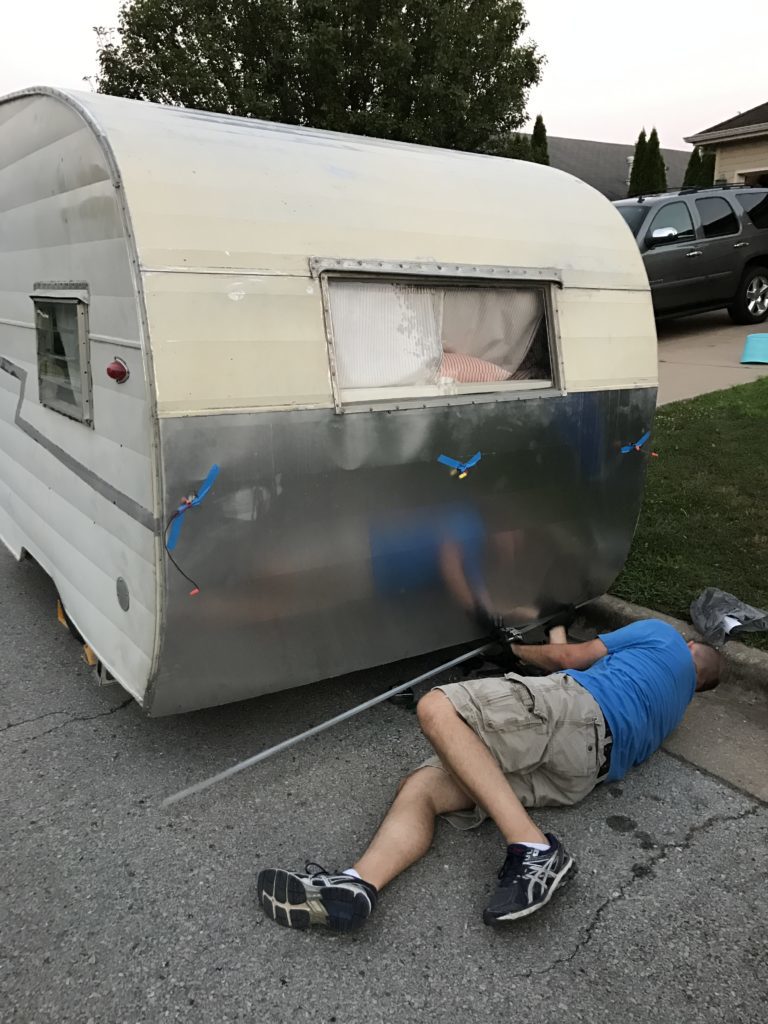
One day, realized the back end was really just a patchwork quilt made from various pieces of tin. It had been patched until all you could see were the patches. It is weird how you can go six years without seeing something, see it, and then not be able to unsee it. Neither of us could unsee the poor state of Cecilia’s rear. She needed a butt lift.
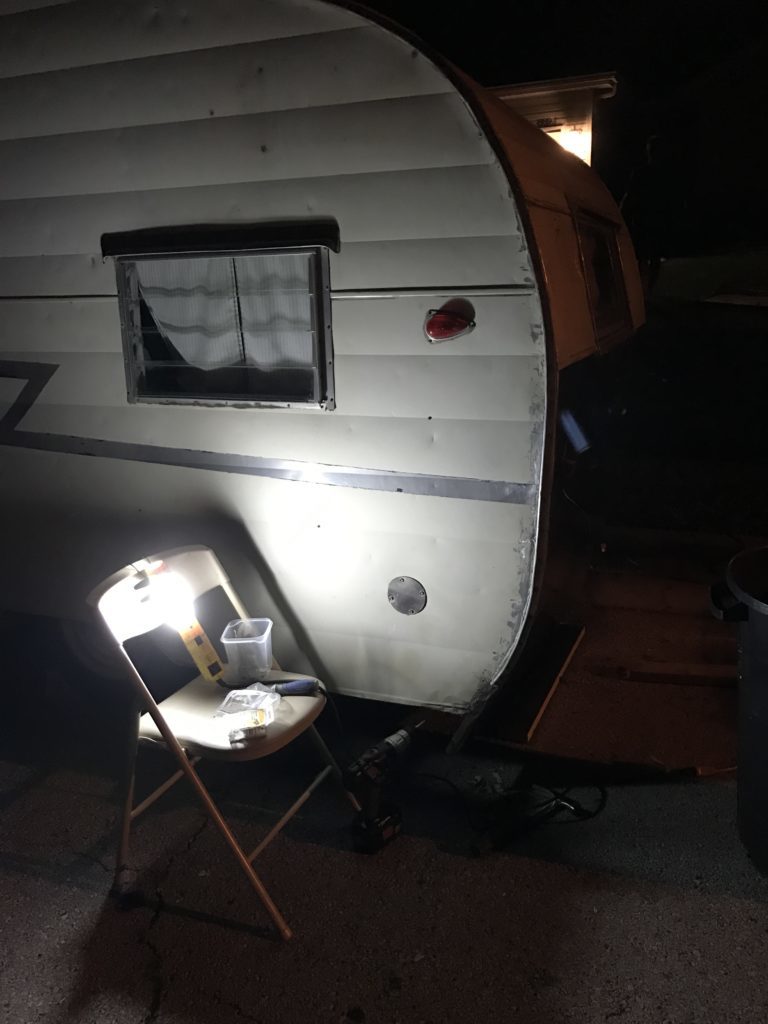
Aluminum skin is expensive. Even if we hadn’t grown to love Cecilia’s other imperfections, I doubt it would be in our budget to replace it. Also, Chris only knew the name of one shop that specialized in the correct aluminum skin and it required the sheet to be shipped. More money. We set out to find a local metal shop that might be able to do the job.
The problem with our vintage camper skin is the 6 inch breaks. Chris had to explain all of this to me. Every 6 inches there is a line in the camper skin. That is called a break. 6 inch breaks aren’t common these days.
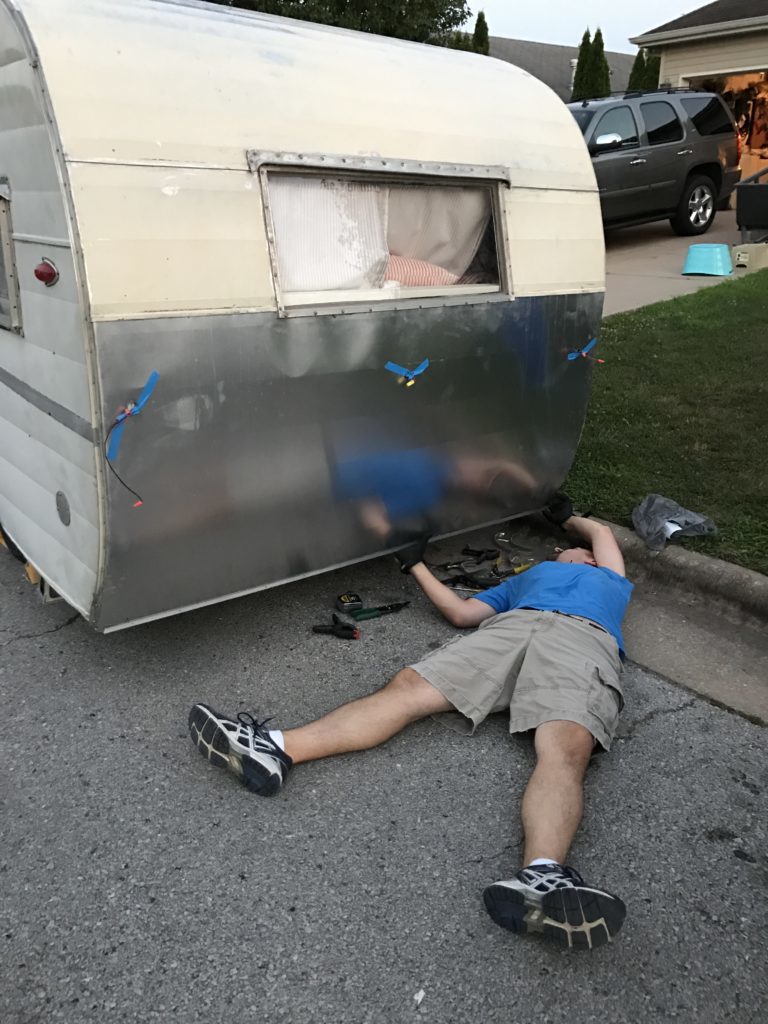
After calling a few shops, we started to get really discouraged. Chris finally found someone in our price range. He asked Chris to bring in photos so he could make sure he could do it. The answer was yes!
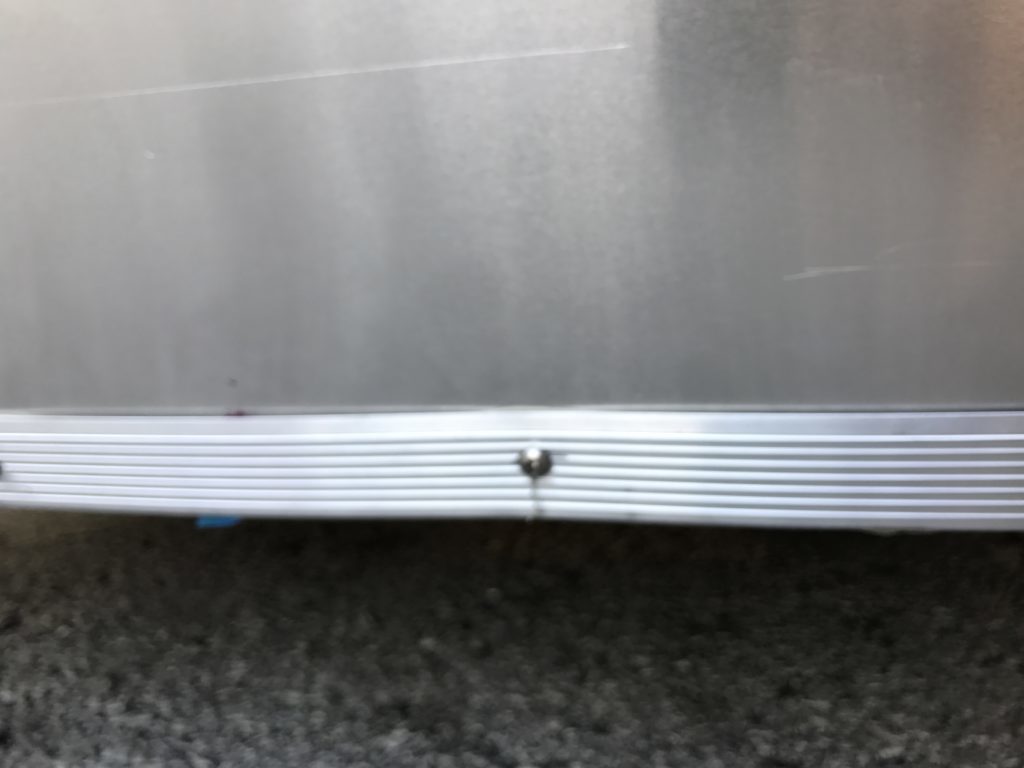
$220 later we had our new aluminum skin. I don’t want to know if we got robbed. Don’t leave comments telling me that you found it for $100 a sheet. Ignorance is bliss! What I do know is that it pays to shop around. The shop we chose charged $100 less than some of the others and he did a great job.
To finish up the bottom, he added a carpet threshold that he picked up at the local hardware store. It is similar to this M-D Building Products 78212 Extra Wide Fluted 2-Inch by 36-Inch Carpet Trim, Silver.
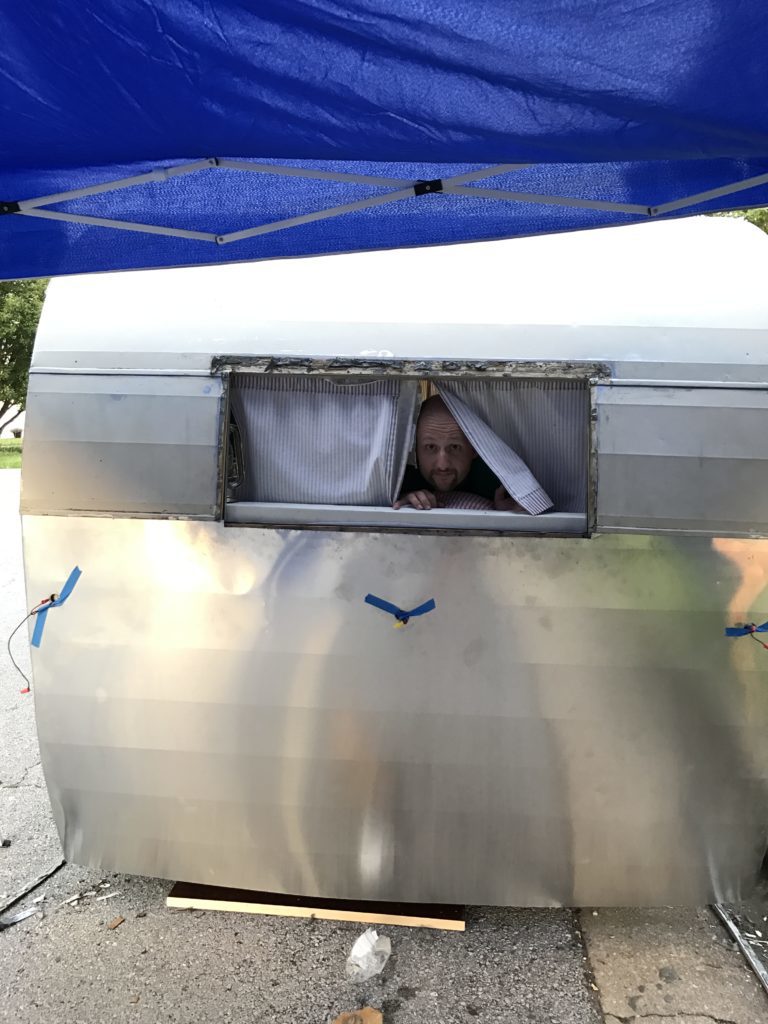
Next step: paint!

 (adsbygoogle = window.adsbygoogle || []).push({});
Thanks for sharing. Just bought a 1973 Shasta. Taking a lot of advice from the posts.
Thank you for sharing. I am living in my trailer and last summer I lifted my back skin to repair wood rot.
And was thinking of doing the same as you. The previous owner had laid one large sheet for the roof and it works great. I have found if you say auto parts its cheap but say RV for same part 3 times cost crazy. Thanks again
Carlos Canada
Yes. I completely understand he cost variance for RV parts. Sometimes if you think outside the RV world, you might find a suitable part in a place you never thought would have it.
Hi there, Anytime I get something custom build like a rear panel it cost lots, material cost Labor to cut panel, draw in lines to break Etc. $220 fair price to me . Bottom line I willingly will pay more for nice job ! Make sure you use the right primer on aluminum. I also think a canopy event tent is a good investment
When working out side on projects where weathers an issue. It was for me when I built my 41’ Bus conversion.
A great place to store stuff for the projects!
Nice build ! Cheers
I completely agree with you on paying for a quality product. It was just a last minute expensive repair that we did not plan on originally. Thank you for the kind comments.
I myself am looking for mnew skin for my 63 Shasta that way I can put installation and wiring like to also find a roof mounted a.c. for it.
Hemet Valley RV out of California is a popular choice of many for new skins. Due to the shipping costs, we decided to look local. If you are close to a big city, it might be worth the time to see if there are companies close to you that can fabricate it for you. As for the roof mounted AC, I would make sure to beef up the construction of the roof supports. Our 1963 Shasta Compact had pretty basic light weight construction for the roof.