
We are taking a break from our regularly scheduled programing today to discuss a topic I get asked about often: How to Start a Blog. I’ve had several blogs over the years, but this was the first one hosted on my own web space. I was a little overwhelmed at first, but after a year I have the hang of it. In fact, I have two blogs now, along with another site that I’m in the process of setting up. I love that so many vintage trailer owners are interested in starting a blog for their vintage trailer. I am willing to help you any way I can. These easiest way to do that seems to be to lay it all out here. Leave a comment below with a link to your vintage trailer blog. I love reading them!
How to Start a Blog
Step 1: Go to Bluehost by clicking this link and hit the ‘Get Started Now’ button. 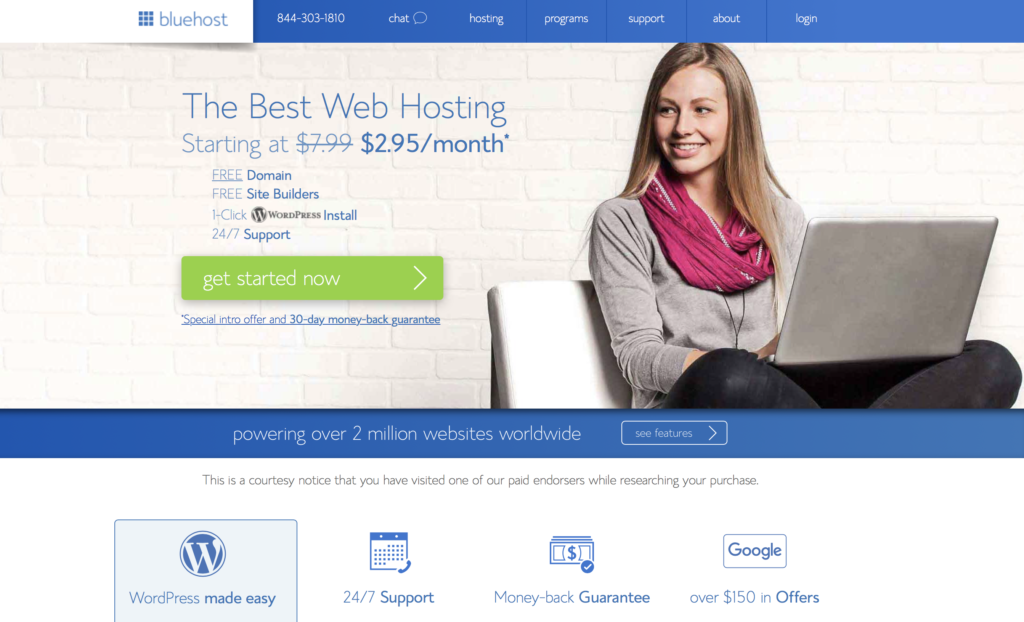 Step 2: Choose the plan you want. The ‘Plus’ plan is the one I use. Right now, they are running a sale and you can get the Prime account for the same price. That is a great deal! Your domain name and access to WordPress are free. Wordpress will take care of the ‘web design’ aspect of your blog for you. We will get to that later on in the tutorial though!
 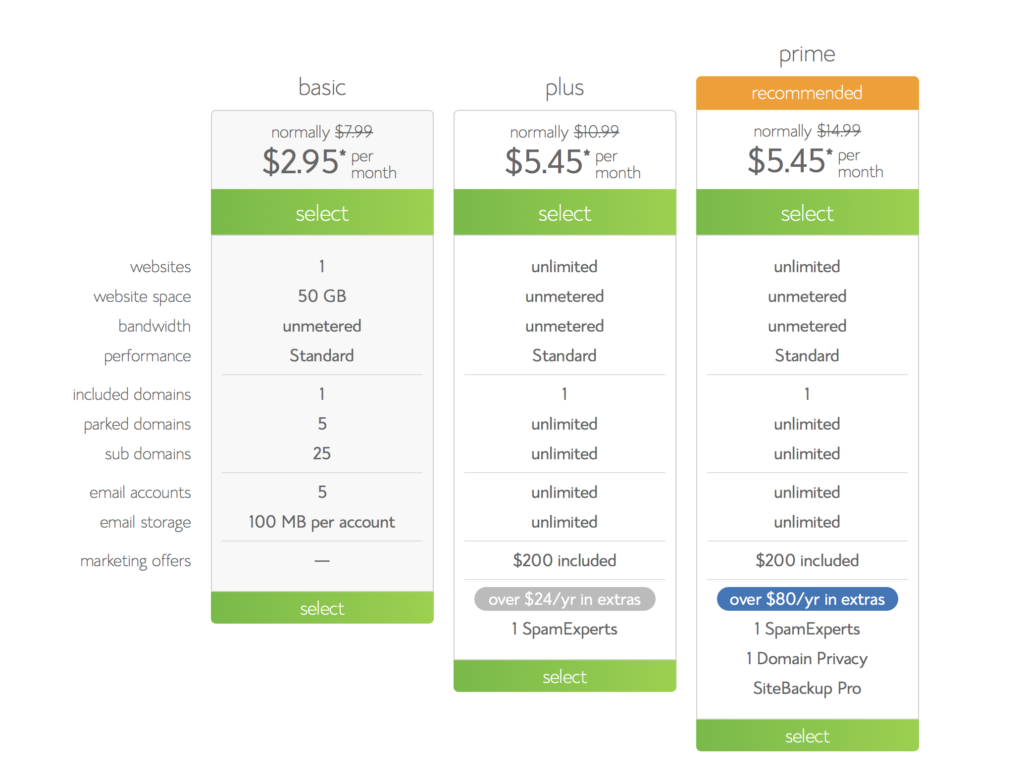 Step 3: You will be asked to select a domain name. This will be the URL of your site. If the URL you select is being used by someone else, Bluehost will let you know and make suggestions for a different URL. Make sure you select something that people will remember.
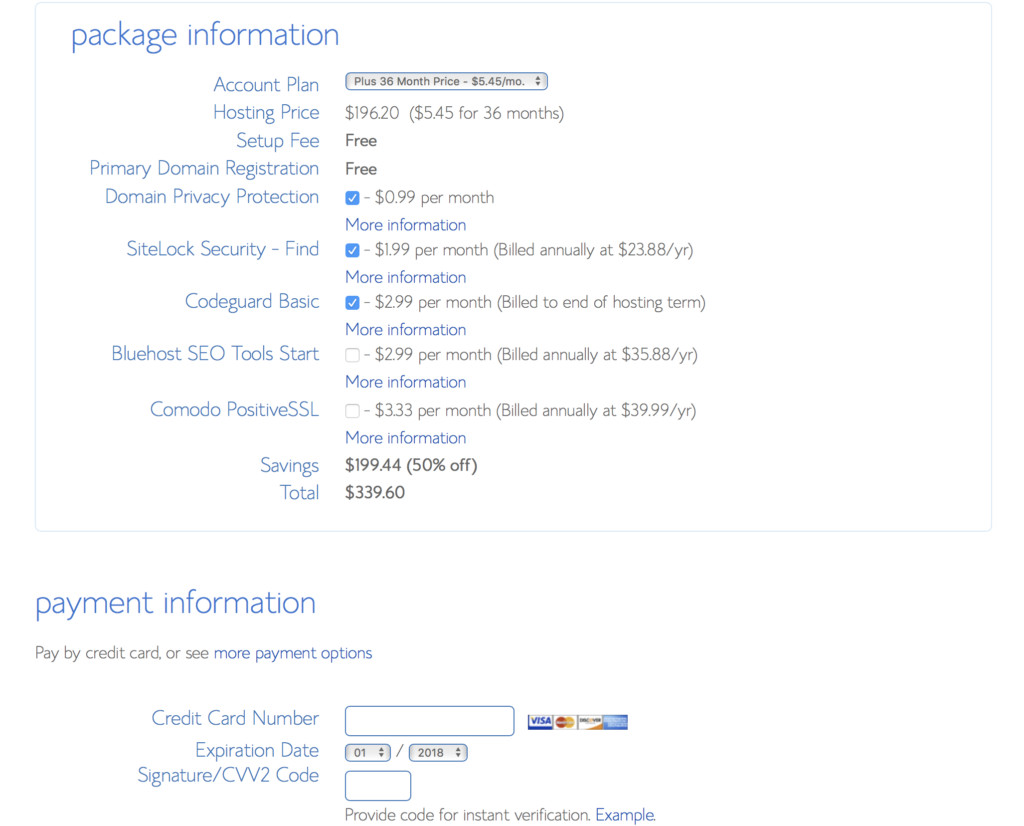
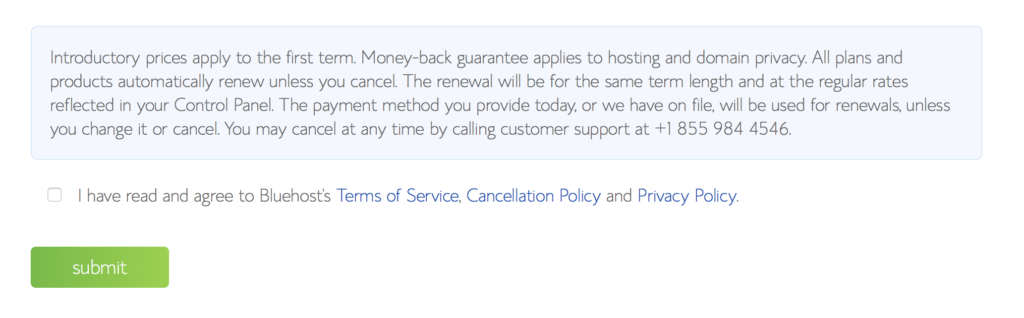
 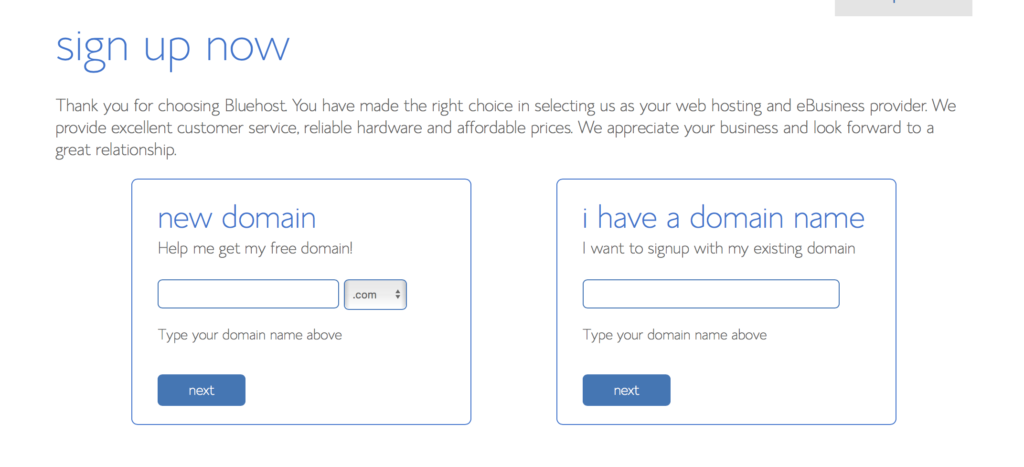 Step 4: After you select a domain, you will be asked for your account information such as name, address, and email address. The next section shows the package you selected and gives you the option to sign up for 12, 24, 36, or 60 months. The 36 month option is the cheapest, but I suggest trying the 12 month option to see if you like the service Bluehost provides. You can renew it at the end of the 12 months. Below this option is a variety of boxes. I leave these as they are. Add your payment method, agree to the terms and conditions, and hit submit.
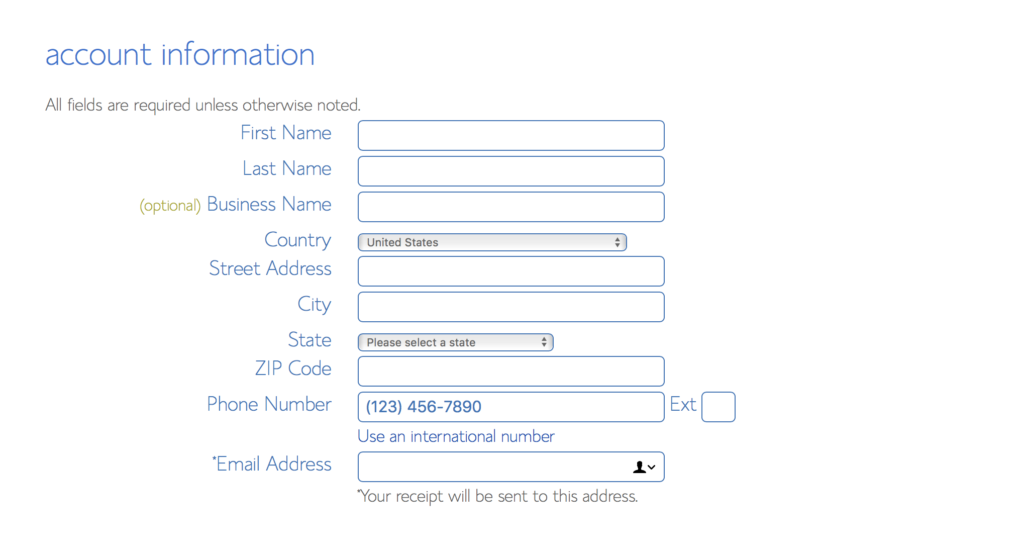
 Step 5: Bluehost will send an email to the account you entered during the sign up process. This email will tell you your user name and password. Use this to log in. Step 6: You should now be logged in to Bluehost with your new user name and password. Now it is time to set up your blog! There is a list of option on the left side of the web page. Select the ‘W’ My Sites.
 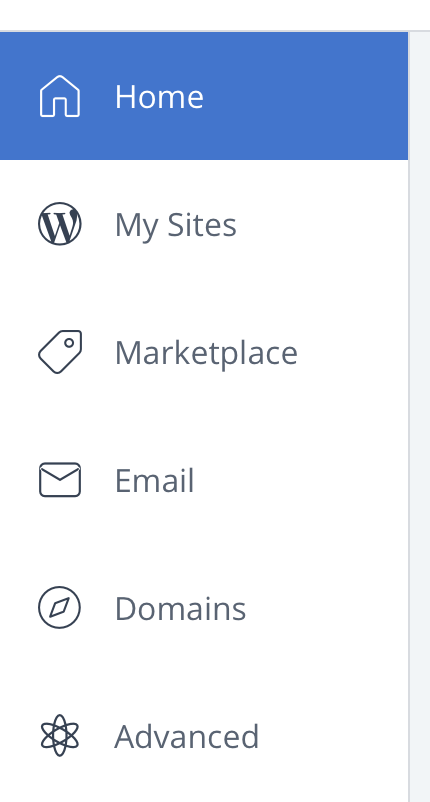 Step 7: After you click ‘My Sites’ it will take you to a new page. In the upper right hand corner, select “Create Site”.
  Step 8: On this page, you will be asked to select a site name and tagline. The site name is the name of your blog. The site tagline tells readers what topics they might find on your blog. Both of these can be changed later. I usually leave the tagline blank.
 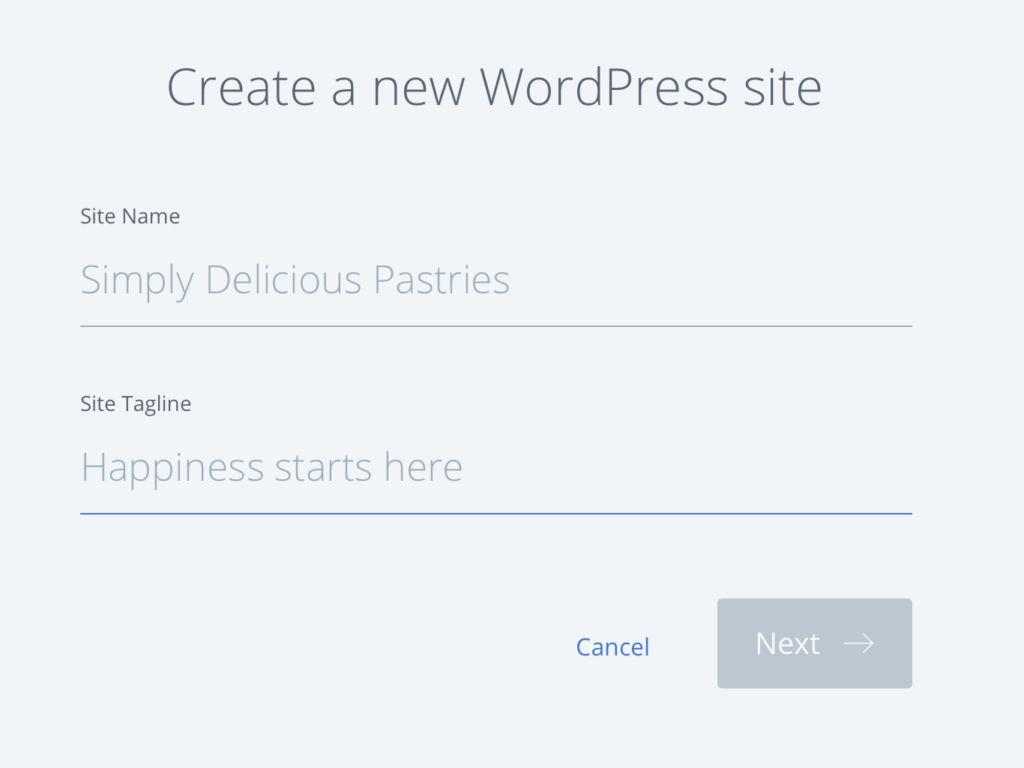 Step 9: The domain box should have the name of the domain you just purchased while signing up for Bluehost. If it isn’t selected, choose it from the dropdown menu. Hit ‘Next’ to continue.
 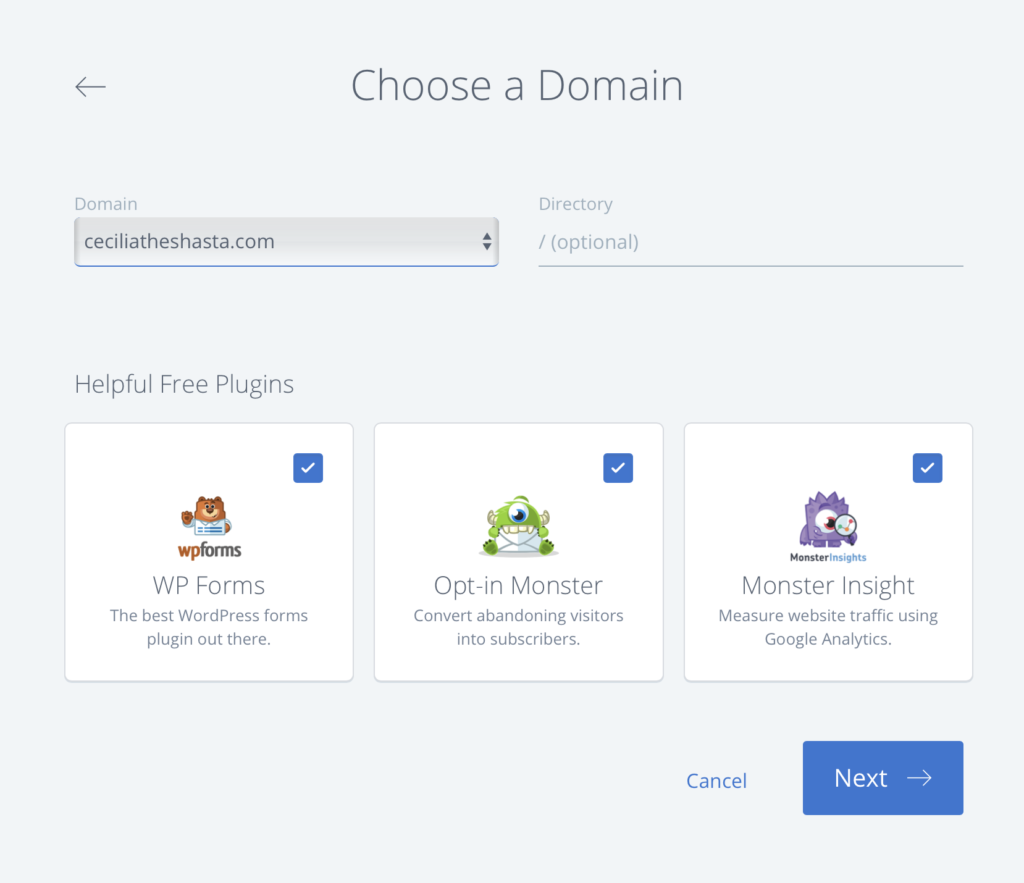 Step 10: You will now be taken into the dashboard or control center for your blog. You will need to select a theme and customize your blog. Let me know when you write your first post. I would love to read it!
